


Malekith's Hairstyle: Thor: The Dark World
1) Start with a middle part. Tie off all the hair on the left (or right. If you start on the right, reverse the following directions.) side of your head.
2) Place a finger at the right corner of your forehead, and slide it straight back. Tie everything under this hair off.
3) Starting on the right side of the part, use this sectioned off hair to make a Dutch Braid. Make sure this stays both parallel and relatively close to the part in your hair.
4) When you reach the back of your head, untie the rest of the hair Comb it straight backwards and start to add it in. (you can’t see this in the picture to the side, but it is what happens)
5) If you want to get really fancy with this, before you add parts of this new section in, take a small section of hair. Take another section of the same size, but placed slightly lower on the head and to the right of the first strand, and cross it over. (this “view” is if you have your head tilted to the side and are looking at this detailing as if it is pointing down to the ground.) You now have the right and middle strands of a braid. Take another piece of hair, same size but lower than the last one an on the left side of the original strand, and cross it over the middle. Drop the middle and use a new piece from above this braid, to go under the right strand and over the middle/left strand. This new strand should then be added into the section below the braid, and the braid added into the Dutch. This shouldn’t be tight at all, but it should look like a braid and should be flat against the head. No pictures show it, (at least that I can find) but by going through clips of the movie, I found this detailing on the sides of his head. This is also optional. I would suggest doing this style a few times, to master it before trying to add this in.
6) Once you finish adding all of the hair in, tie off, using a clear elastic, and Fishtail the rest of the braid and tie off.
7) Untie the hair on the left side of your head, and repeat steps 2-6. Make sure the Dutch braids are parallel to each other, and stay closer to your part, than to the side of your head.
8) Finally, take the two Fishtails, and pin them together on the sides closest to each other. They should be laying flat, and it should almost look like a single Fishtail with four sections rather than two. Tie the ends of them together, and you are done!!!!
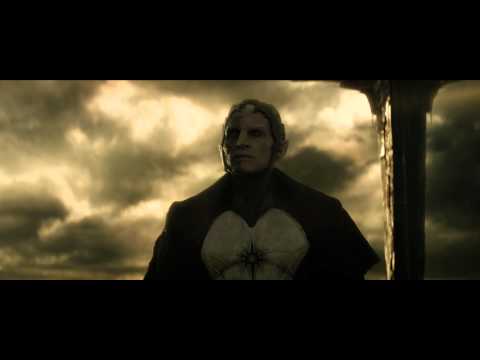
If you look at the picture, you can clearly see the two Dutch and Fishtail Braids. For the little detail braid, watch the video to the right, and pause at :34. It has a clear view of the little accent braid. Other pictures from the fron of his face, without the helmet, show how the sectioning goes. Thanks goes out to @ajjacobi once again, as she voted for this one! .....no one else voted....but we are moving on! :) Next will be 6+ Even/7+ Odd Numbered Strand Braids.
~32onedoesnotsimply

YOU ARE READING
The Braid Book
Non-FictionHave you ever seen hairstyles that people do and take pictures of and you sit there and try to do them yourself but fail miserably? I have....many times. But now, I come to you to teach you how to achieve the hairstyles and braids that you never tho...
