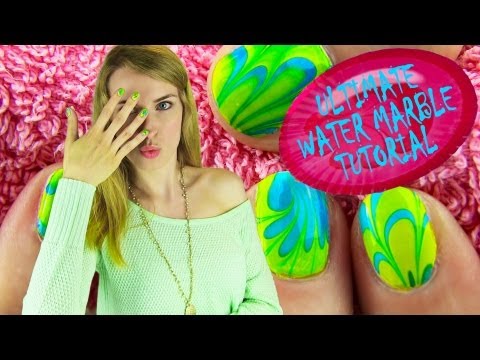


                                                  How To Do Water Marble Nails
                              <>•<>
                              Tools You'll Need;
• Tape
• Small Water Bowl
• Scissors
• Nail Polish Remover
• Q-Tips/Cotton Swabs (depends what you call it)
• Room Temperature Water
• Toothpicks/Pointed Tool
• Napkins
• Nail Polishes
                              Instructions:
                              Step One.|
Have the room temperature water in your small little cup or bowl. The size of this bowl cannot be a cereal bowl, but a very tiny thing, like those small clear plastic cups that you see at parties. Those sizes.

                              Step Two.|                                          Put a base coat on your nails, following a white nail polish after the coat. If you do not do this, the water marble will stain your nails.

                              Step Three.|
Stick the tape around you nail, very close to your nail and under your cuticle. Don't cover any part of your nail with the tape, for it will leave the nail white in that spot.

                              Step Four.|
Find like polishes! It's best to have very like polishes with density. Most likely the same brand, for its the same and will spread well. You don't want a sticky, thick polish and it won't spread on the surface of the water. When you drop your polish into the bowl/cup, hold it above the water about less than an inch. If you need to, tap the water lightly with the tip.
                              Tip: Sparkly polishes won't spread and is too gloppy for water marbling.

                              Step Five.|
Put different colors in, all in a pattern, but if you have short nails, most of the colors won't be able to show up on your nail. After you make your bullseye, we can start on designs!
                              Tip: Shake the cup/bowl lightly to help the polish spread quicker, or take your pointed tool and drag it on the outside of the polish.

                              Step Six.|
Take your pointed tool and make your design. You can do the basic flower where you drag the outer side to the middle and repeatedly. Another is giving the basic flower some pointed tips, all you do it give it tips! Another is stripes, go back and fourth, starting at the bottom to the top.
                              Tip: It's best it you start off with a basic flower. To do the flowers, you start on the outside but count at least three colors away from the very first one and you can start designing.

                              Step Seven.|
After finishing you design, get your finger(s) in the position and the design you want and dip them in. Let your fingers capture the design and start cleaning up the extra polish with you Q-tip.
                              Step Eight.|
Carefully remove the tape and after letting the polish air dry, apply a top coat of the clear stuff, and you're done!
                              It takes a lot of practice!

                              ✿ ❀ ✿
I hope this helped you!
Comment~ ✍
Vote~ ★
Add me~ ✓
Share with other girls~ ⌨
                              ♡ Natalie

YOU ARE READING
A Girl's Guide To Almost Anything [ON HOLD]
RandomHey there girlies! Oh, by the way if any boy is awkwardly reading this- THEN OUT! GIRLS ONLY! Go check out them other featured stories, kay? Let's get started! This is book contains guides, tutorials, DIYs, recipes, tips, tricks and all this other...
![A Girl's Guide To Almost Anything [ON HOLD]](https://img.wattpad.com/cover/42850973-64-k319921.jpg)